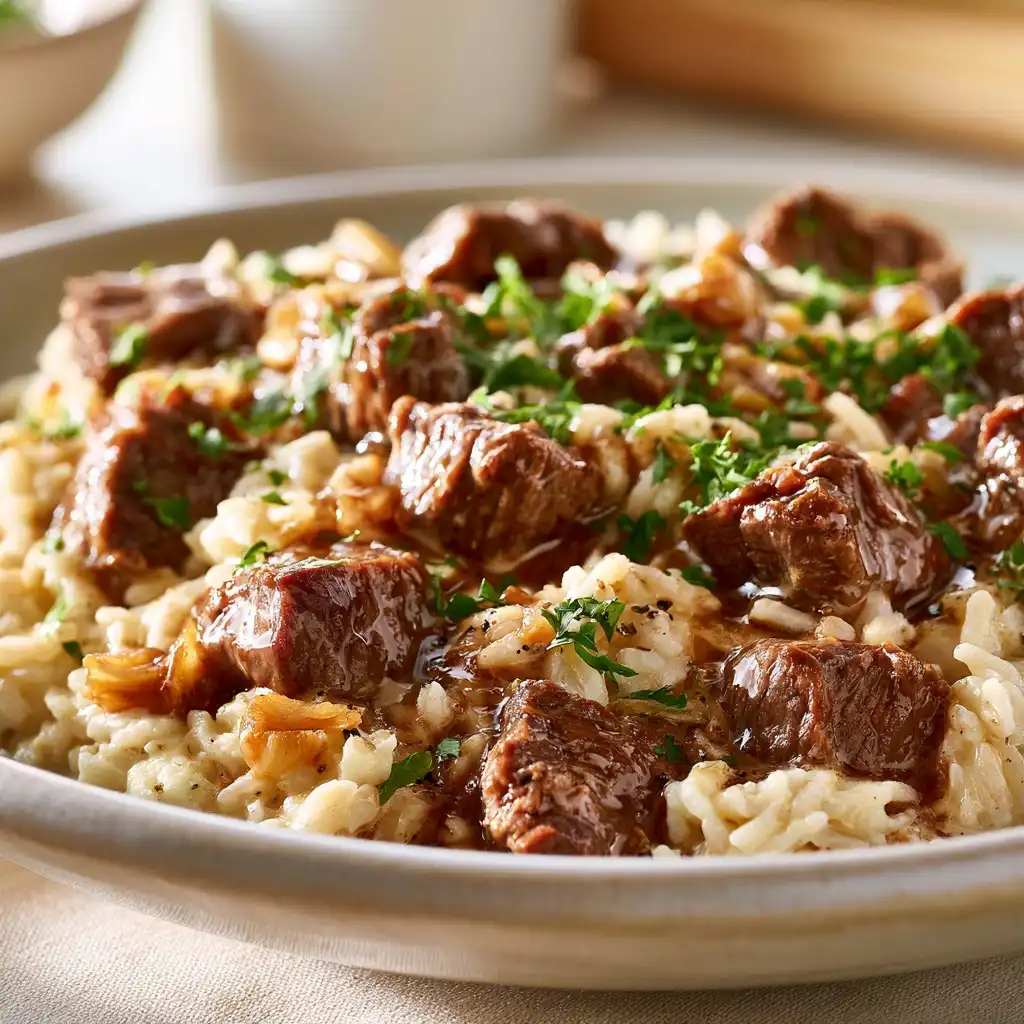
If there is one weeknight dinner that my family asks for again and again, it’s a vibrant, sweet-and-savory Teriyaki Chicken Rice Bowl. It’s the ultimate 20-minute meal: high in protein, packed with colorful vegetables, and bursting with that perfect glossy teriyaki glaze.
As a mother and a nutrition-focused cook, I appreciate how this recipe solves the classic weeknight dilemma. You need something fast, something the kids will actually eat, and something that doesn’t leave a mountain of dishes. These bowls check every box, making it easy to put a balanced and delicious meal on the table even on the busiest evenings.
WHY IT WORKS: Your Secret Weapon for Weeknight Dinners
This recipe isn’t just fast; it’s strategically designed for maximum impact with minimal effort. Here is why this Easy Teriyaki Chicken Rice Bowl will become a permanent fixture in your rotation:
- 20-Minute Cook Time: The key is thinly sliced chicken breast, which cooks rapidly, and using pre-cooked or quick-cooking rice (like microwavable pouches or instant rice).
- High-Protein & Balanced: Chicken breast provides lean protein, which is essential for satiety, while the rice offers complex carbohydrates for energy, and the colorful veggies deliver fiber and micronutrients.
- Minimal Cleanup: Everything (except the rice) can be cooked in a single skillet or wok. Less time scrubbing means more time relaxing.
- Family-Friendly Flavor: Teriyaki is a universally loved flavor—it’s sweet enough to appeal to picky eaters but still complex and savory for adults.
Ingredient Deep Dive: Building the Perfect Bowl
The beauty of this bowl is that it relies on a few high-quality components that come together perfectly. We’ll break down the essentials and the best ways to prepare them for optimal flavor and texture.
The Protein: Chicken Breast or Thighs?
While chicken breast is often favored for its low-fat content and quick cooking time, you can use either.
- Chicken Breast: Needs to be cut into thin, 1-inch strips (about 1/4 inch thick) to ensure it cooks quickly and evenly. This is ideal for the 20-minute goal.
- Chicken Thighs: Offer richer flavor and stay more tender, even if slightly overcooked. If you use thighs, keep them boneless and skinless, and cube them into 1-inch pieces. They may add 3–5 minutes to the cooking time.
The Sauce: Mastering the Homemade Teriyaki Glaze
The teriyaki sauce is the heart of the dish. While store-bought is fast, a quick, homemade version tastes infinitely better, allows you to control the sodium and sugar, and avoids unnecessary preservatives.
| Ingredient | Purpose in the Glaze |
| Soy Sauce (or Tamari/Coconut Aminos) | The base, providing savory, salty umami flavor. |
| Brown Sugar or Honey | Provides the sweetness and caramelizes to create the glossy glaze. |
| Mirin or Rice Vinegar | Adds a touch of acidity to balance the sweetness and salt. |
| Fresh Ginger & Garlic | Essential aromatics that deepen the complexity of the sauce. |
| Cornstarch Slurry (cornstarch + water) | The thickening agent that turns the sauce into a sticky, glossy glaze. |
Pro Tip: Always make a cornstarch slurry by mixing the cornstarch with cold water before adding it to the hot liquid. This prevents lumps.
The Veggies: Quick-Cooking Crunch
The best vegetables for a Teriyaki Bowl are those that can be quickly stir-fried or steamed alongside the chicken, maintaining a pleasant crunch. My go-to is broccoli florets, but you can also use:
- Snap peas
- Shredded carrots
- Bell peppers (sliced thin)
- Edamame
- Zucchini/Summer squash
Easy Teriyaki Chicken Rice Bowls Recipe
Ingredients
For the Teriyaki Chicken
- 1.5 pounds boneless, skinless chicken breast, sliced into thin 1-inch strips
- 1 tablespoon avocado or sesame oil
- 1 cup broccoli florets, fresh or frozen (thawed)
- 1/4 teaspoon ground black pepper
For the Teriyaki Sauce
- 1/2 cup low-sodium soy sauce (or Tamari for gluten-free)
- 1/4 cup brown sugar or honey
- 2 tablespoons water or chicken broth
- 1 tablespoon rice vinegar
- 1 teaspoon grated fresh ginger
- 2 cloves garlic, minced
- 1 tablespoon cornstarch
- 2 tablespoons cold water
For Serving
- 4 cups cooked white or brown rice (warm)
- Optional garnishes: sesame seeds, sliced green onions, a sprinkle of red pepper flakes
Instructions
- Prepare the Slurry: In a small bowl, whisk together the cornstarch and 2 tablespoons of cold water until smooth. Set aside.
- Make the Sauce: In a separate medium bowl, whisk together the soy sauce, brown sugar (or honey), 2 tablespoons water/broth, rice vinegar, grated ginger, and minced garlic. Pour the mixture into a small saucepan and bring it to a gentle simmer over medium heat.
- Thicken the Sauce: Once simmering, slowly whisk in the cornstarch slurry. Continue to stir constantly until the sauce thickens and becomes glossy, usually within 1–2 minutes. Remove from heat and set aside.
- Cook the Chicken: Heat the oil in a large skillet or wok over medium-high heat. Add the chicken strips and pepper. Stir-fry for 4–5 minutes, until the chicken is lightly browned and cooked through. It should no longer be pink in the center.
- Add Vegetables: Add the broccoli florets to the skillet with the chicken. Continue to stir-fry for 3–4 minutes until the broccoli is bright green and slightly tender-crisp.
- Glaze and Serve: Pour the prepared teriyaki sauce over the chicken and vegetables. Toss quickly to coat everything in the thick, glossy glaze. Cook for just 1 minute until the sauce is bubbly and sticky.
- Assemble the Bowls: Divide the warm cooked rice among four bowls. Top each with a generous portion of the teriyaki chicken and broccoli mixture. Garnish with sesame seeds and green onions, if desired.
Storage & Meal Prep Guide (H3)
These bowls are incredibly stable and ideal for meal prepping. I often make a double batch on Sunday to cover a couple of lunches or dinners during the week.
Meal Prep Strategy
- Prep Components Separately: Store the cooked rice, the teriyaki chicken/veggie mixture, and any fresh garnishes in separate airtight containers. This helps maintain the best texture.
- Chicken & Veggie Storage: The glazed chicken and vegetables will last for up to 4 days in the refrigerator.
- Rice Storage: Cooked rice can also be safely stored for 3–4 days. To maintain safety and quality, cool the rice rapidly (spread it on a sheet pan) before sealing and refrigerating. This is particularly important for rice safety (Source: U.S. Food Safety Guidelines).
- Assembly Tip: Only assemble the full bowl right before serving or immediately before you plan to eat it if bringing it to the office.
Reheating Instructions
- Microwave: The fastest method. Place the chicken and vegetable mixture on top of the rice in a microwave-safe bowl. Cover loosely and heat for 60–90 seconds, stirring halfway through, until warmed through.
- Stovetop (Recommended): This preserves the best texture. Place the chicken and vegetable mixture in a non-stick skillet over medium heat with a splash of water or broth. Heat for 3–4 minutes until steaming hot. Serve over freshly warmed rice.
5 Creative Variations: Bowl Customization
One of the reasons I love any “bowl” recipe, from these Teriyaki Chicken Bowls to Healthy Chicken Burrito Lunch Bowls, is the ability to easily customize based on what’s in your fridge or what flavors you are craving.
1. Hawaiian Pineapple Teriyaki Bowl
Introduce a tropical sweetness. In step 5, add 1 cup of chopped fresh or canned pineapple chunks along with the broccoli. The heat will lightly caramelize the pineapple, adding a juicy burst of flavor and a touch of acidity that brightens the entire dish.
2. Teriyaki Noodle Bowl (Low-Carb Option)
Swap the base entirely. Instead of rice, use cooked soba noodles, ramen noodles, or even a low-carb alternative like zucchini noodles (zoodles) or shirataki noodles. If using zoodles, only add them in the last minute of cooking, tossing just to coat in the warm sauce—no need to cook them down.
3. Spicy Sriracha Teriyaki
For those who like a kick, whisk 1–2 teaspoons of sriracha or chili garlic sauce into your teriyaki sauce recipe in step 2. You can also finish the bowl with a drizzle of spicy mayo (mayonnaise mixed with sriracha) before adding the sesame seeds.
4. Vegetarian Tofu Teriyaki Bowl
Make it plant-based. Replace the chicken with 1 block (14-16 oz) of extra-firm tofu, pressed and cubed. Toss the cubed tofu with a light dusting of cornstarch and pan-fry until golden and crisp before adding the vegetables and sauce. This high-protein swap is incredibly satisfying.
5. Korean-Style Gochujang Teriyaki
For a different savory profile, replace half of the soy sauce in the glaze with Gochujang (Korean chili paste). This offers a deeper, fermented, and mildly spicy flavor. Be sure to add a little extra sweetener (honey) to balance the intensity of the paste. You can see how other international bowls are customized with this idea, like my recipe for Greek Chicken Meal Prep Bowls.
Troubleshooting & Common Teriyaki Fixes (H3)
Cooking is simple, but sometimes things go wrong. Here are the most common issues people face with teriyaki and how to fix them instantly.
| Problem | Cause | Quick Fix |
| Sauce is Too Thin | Not enough cornstarch or not enough cooking time to activate the starch. | Mix 1 teaspoon of cornstarch with 1 tablespoon of cold water (slurry). Push chicken/veggies to one side of the pan, pour the new slurry into the exposed sauce, and stir until thickened. |
| Sauce is Too Thick | Too much cornstarch or over-reduced. | Whisk in 1–2 tablespoons of warm water or chicken broth until the sauce reaches your desired, glossy consistency. |
| Chicken is Dry | Sliced too thick or overcooked before adding the sauce. | Reduce the heat to medium-low. Add an extra 1/4 cup of broth or water to the sauce before glazing. Next time, ensure the chicken strips are cut thinly and uniform. |
| Flavor is Too Sweet | Too much brown sugar/honey. | Add a small squeeze of fresh lime juice or a teaspoon of rice vinegar to the sauce to introduce acidity and balance the flavor. |
FAQ: Your Teriyaki Chicken Rice Bowl Questions Answered
Q: What is the best kind of rice to use for a teriyaki bowl?
A: Jasmine rice or Basmati rice are my top recommendations. They are light, fluffy, and perfectly absorb the extra sauce. If you are focused on nutrition, brown rice is an excellent, higher-fiber option, though it will add 15–20 minutes to your total prep time unless you use pre-cooked pouches. For an even quicker meal, even quicker than this, consider making a Shrimp Quinoa Power Bowl using quinoa as the base.
Q: Can I use pre-made teriyaki sauce?
A: Yes, absolutely! If you are truly short on time, use 1/2 to 3/4 cup of your favorite store-bought teriyaki marinade or sauce. Skip the sauce preparation steps (2 and 3), but you may still need to add a small cornstarch slurry at the end if the sauce doesn’t thicken and cling to the chicken well on its own.
Q: Is this recipe gluten-free?
A: The recipe can be easily made gluten-free by using Tamari or Coconut Aminos instead of traditional soy sauce. All other ingredients (brown sugar, rice vinegar, cornstarch) are naturally gluten-free, but always check labels on any pre-made ingredients.
Q: What other vegetables can I add?
A: The rule is anything that cooks quickly. Try thinly sliced bok choy (add at the very end), mushrooms, or shredded cabbage. For bulk, you can add frozen vegetable mixes (peas and carrots) alongside the broccoli, but thaw them slightly first to avoid cooling the pan too much.
Q: Can I bake the chicken instead of stir-frying it?
A: Yes, if you prefer a one-pan method (similar to Healthy Baked Tuscan Chicken The Ultimate One-Pan Weeknight Meal). Toss the chicken and vegetables with about 1/4 cup of the finished, thickened teriyaki sauce. Spread on a baking sheet and roast at 400°F (200°C) for 15–18 minutes. Toss the chicken with the remaining sauce immediately after removing it from the oven.
Conclusion
The Easy Teriyaki Chicken Rice Bowl is more than just a quick meal; it’s a template for stress-free, balanced family dinners. By controlling the ingredients, you get all the irresistible flavor of your favorite takeout dish with the nutritional confidence of a home-cooked meal. Whether you use the classic recipe or try one of the five creative variations, you’re only 20 minutes away from a sweet, savory, and satisfying dinner.